
Daily Mail journalists select and curate the products that feature on our site. If you make a purchase via links on this page we will earn commission – learn more
It began as a cost-saving decision six years ago: while renovating her four-bedroom 1970s house in Bedford, Laura Deller resolved to take it room by room, teaching herself DIY along the way.
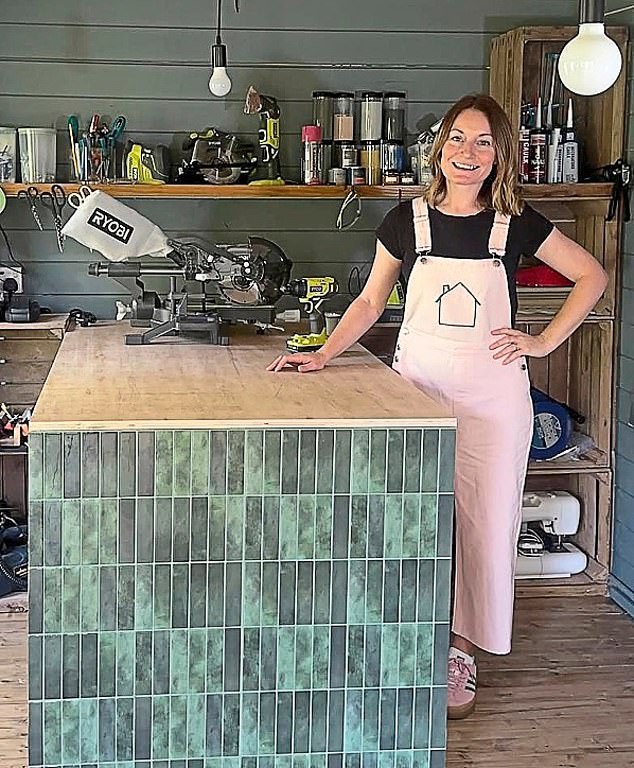
Fast-forward to today and the part-time science teacher and mum of two, 41, is also an Instagram DIY expert (@houseprojectuk), specialising in budget-friendly hacks using high-street brands such as B&Q, Dunelm, Home Bargains and – as with the three projects here – Ikea.

Laura in her workspace
BASICS NEEDED
★ 12mm MDF
★ 9mm hardwood ply
★ Nail gun
★ Mouldings
★ Wood filler and caulk
★ Cartridge gun
★ Jigsaw and circular saw
★ Fine-grit sandpaper
★ MDF and wood primer
★ Paintbrush and roller
★ Paint and topcoat
★ No More Nails adhesive
★ Caster wheels
★ Screws and washers
THE POSH BOOKCASE
I wanted to create a stylish bookcase without spending a fortune. I used Ikea’s Ivar pine shelving components and added hardwood ply, coving and decorative mouldings to cheat the look of bespoke carpentry. It is one of my favourite projects in the house.

The posh bookcase

Before
Time to make 4 days
You will need
★ Ivar shelving components (3 cabinets, 6 side rails, 6 shelves)
Cost £375
The step-by-step
1 Build the Ivar shelving units according to instructions.
2 Clad the sides with 9mm hardwood ply and secure in place with a nail gun.
3 Secure the unit to the wall with screws.
4 Decide whether you are having a gap between the units (this will usually depend on the size of your room). I opted for a 15cm gap between each unit.
5 Use 9mm hardwood ply to fill in gaps between cabinets for a seamless finish.
6 To add an arched front to the cabinets, measure the space across the width of each one. Draw semi-circles on a 9mm hardwood ply to this width and cut around using a circular saw.
7 Secure to the front of your Ivar frame using No More Nails adhesive and a nail gun.
8 Sand down the entire unit and apply a wood primer. Then roller on an eggshell paint of your choice (I colour-matched Farrow & Ball’s Inchyra Blue).
9 Once dry, arrange your favourite pieces on the shelves and enjoy.
THE UNDER-STAIR STORAGE
I had an awkward dead space under my stairs and knew it could be transformed into a hidden storage compartment with a few clever tweaks. The concealed cupboards store my DIY supplies, and the open shelving doubles as a handy log store. This design could also easily be adapted for shoes and bags.

The under-stair storage

Before
Time to make A weekend
You will need
★ 1x vertical 4 cube Kallax storage unit
★ 1x 4×4 Kallax storage unit
Cost £69
The step-by-step
1 Measure the highest point of your space and cut off the top of the vertical Kallax unit accordingly so that it can fit in that space. Slot it in and secure with a nail gun.
2 Add low-profile caster wheels (Amazon sells a wide selection) to the base of the 4×4 Kallax unit. Mark and drill holes where you want the wheels to be and secure them in place with screws and washers.
3 Measure and cut a piece of 12mm MDF at an angle with a jigsaw and attach it to one side of the 4×4 Kallax unit with adhesive and a nail gun. This creates a bespoke covered, ‘boxed in’ look, while providing storage when the 4×4 Kallax is wheeled out (you can add Drona boxes, £3 each, on the shelves to keep items secure and tidy).
4 Feel free to add decorative mouldings (diy.com sells a selection) along the edges to make it look fancy. Fasten in place with adhesive.
5 Give the unit a light sand and apply an MDF primer. Finish by painting it a shade of your choice. I used Lamp Black by Little Greene.
6 Once the paint is dry, add a door handle. Mine is from B&Q.
THE BED NOOK
My son’s room doubles as a playroom, so I needed a bed that includes storage and makes the most of all available space. I customised his high-sleeper by sawing off the legs to a height that could fit a Kallax storage unit snugly underneath.

The bed nook

Before
Time to make A weekend
You will need
★ 2x Billy bookcases (40cm wide)
★ 1x vertical 4 cube Kallax unit
Cost £110
The step-by-step
1 Build two Billy bookcases according to the instructions and secure them to the walls directly next to the bed with screws.
2 Slot the Kallax shelving unit underneath the bed. Mine fit snugly but if needed, secure to your bed with timber screws.
3 Using 12mm MDF, ‘box in’ any visible gaps underneath the bed between the Kallax unit and the bottom of the bookcases.
4 Sand down and prime the bookcases and Kallax unit, then paint using a roller. I colour-drenched the space in Oakley Park by Dulux.

Nailed It: The Essential Guide To Doing It Yourself by Laura Deller will be published on 26 March (Pavilion, £20). To order a copy for £17 until 15 March, go to mailshop.co.uk/books or call 020 3176 2937. Free UK delivery on orders over £25
LAURA’S TOP TIPS FOR BEGINNERS
★ If this is your first DIY project, keep it achievable. Putting up a peg rail, adding a gallery wall or painting furniture will give you a dopamine boost with a quick win.
★ Measure twice, cut once. If in doubt, take your measurements to a timber merchant’s cutting service. B&Q offers five free cuts, followed by a 50p charge on further cuts.
★ When decorating a room, always paint the ceiling first, followed by the walls and finally the woodwork. To create a cohesive scheme, consider colour drenching all surfaces in the same paint.