
Hollow Knight: Silksong has plenty of difficult enemies and boss monsters that really push your skills to their limits. The highly anticipated sequel to Hollow Knight doesn’t give players a chance to catch their breath, pitting them against increasingly difficult bosses.
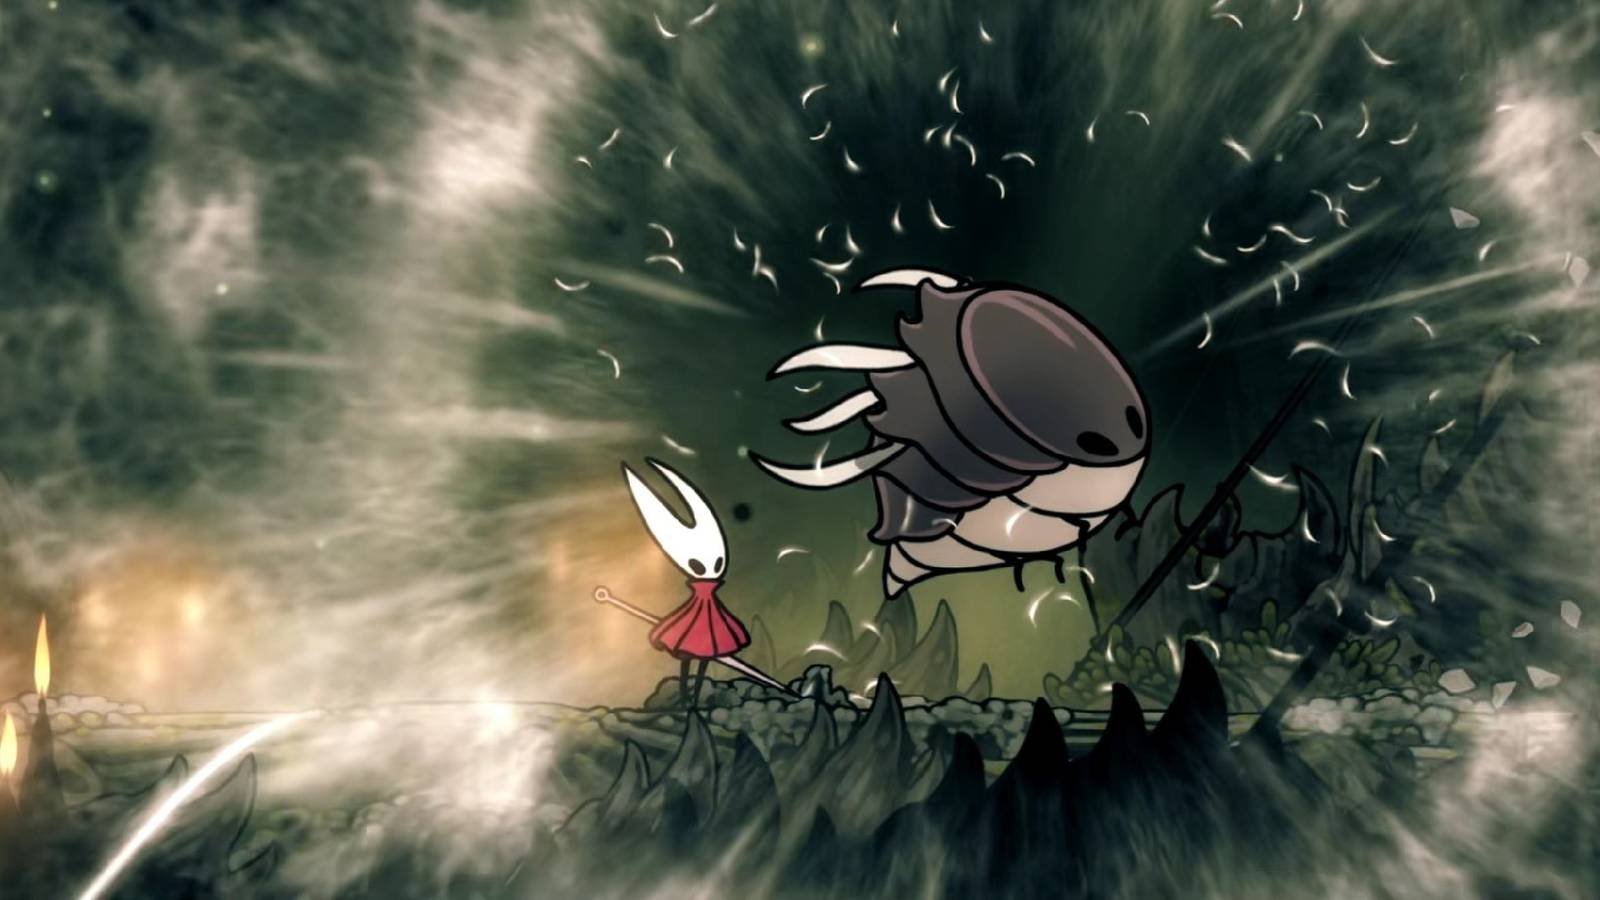
Most boss fights take a few tries until you learn the enemy’s movements and figure out how to avoid them. Of all the most bosses in the game, only the Savage Beastfly has the dubious honor of having its own dedicated Subreddit. The Beastfly is a massive flying enemy that wouldn’t be so difficult if it weren’t for the pesky adds it starts to spawn halfway through the fight.
You can fight the Savage Beastfly twice in Silksong, with the second battle being infinitely more challenging (but also, thankfully, completely optional). If you’re stuck on either of the Beastfly fights, here’s how to finally defeat one of Silksong’s most difficult bosses.
Where To Find The Savage Beastfly In Hollow Knight: Silksong
The Two Locations Of The Pesky Fly
The first Savage Beastfly fight can be accessed after you acquire the Drifter’s Cloak, east of the Hunter’s March in the Chapel of the Beast.
The second fight is an optional one that’s unlocked after accepting the Savage Beastfly Wish in Bellheart after the location has been restored. This time, you’ll have to track the enemy to the Far Fields, where the Fourth Chorus fight originally took place.
Fighting either of the battles in Act 3 will make them much more difficult, so you may want to knock them out before you continue with the main story.
How To Beat The Savage Beastfly (The First Time)
Patience And A Bit Of Luck Wins The Fight

When you first encounter the Beastfly, you do so in an enclosed space. Use the arena to your advantage, and enjoy it while it lasts, as the next time you meet the enemy, the location won’t be as forgiving.
The Beastfly has 550 HP (or 1100 if fought in Act 3) and uses three main moves: It flies straight to the left or right, slams the earth straight downward, and, after it reaches 440 HP (or 880 HP in Act 3), summons additional enemies. These minions are what you have to watch out for, adding an extra layer of difficulty to an otherwise pretty straightforward fight.
The Beastfly can summon a Beastfly, Kilik, or Vicious Caranid, all of which pose their own dangers and should be eliminated as quickly as possible. Target the smaller enemies as soon as they spawn, or lay down trap tools like Tacks or Sting Shards to do the job for you. If you lure the fly to the right spot when it’s doing a ground slam, it has a chance to hit the enemy and kill it instantly.
The summoned add is random, so with a little luck, you’ll only get the two smaller and more manageable of the mobs. If you’re unlucky… well, this post by AAAAAASILKSONGAAAAAA on Reddit says it all.
Your best chances to hit Savage Beastfly are:
- When it’s coming at you low, pogo on it.
- When it’s coming back around higher up, attack upwards under it.
- You can hit it roughly once with every body slam if you time it right.
- Hit it as many times as possible when it’s summoning a minion or when it’s stunned.
As I mentioned before, use the arena to your advantage. If you stay close to the wall, the Beasfly slams into it on every pass, stunning it for a few seconds. This is your chance to do as much damage as possible!
How To Beat The Savage Beastfly (The Second Time)
Be Prepared For A Tougher Battle

When you come across the Beastfly at the Far Fields, two main differences make the fight much more challenging: the floor is (literally) lava, and the Beastfly now exclusively spawns Tarmites.
The Tarmites spit fire in your direction, which will stick to the floor for a bit and hurt Hornet if she runs into it. The combination of fighting the Savage Beastfly and Tarmite while avoiding fireballs (which often blend in with the background when they’re on the ground) makes this one of the hardest fights in the entire game.
The Savage Beastfly 2.0 has 650 HP (or 1300 in Act 3). To have the best chance of defeating the Beastfly in the Far Fields, it’s highly recommended that you wait until you have at least five masks of health and a fully upgraded Needle.
Pogo over the Beastfly when it comes in low, and hit up when it passes above you. Once again, it will attack the ground and can be hit once per ground slam. This time, though, the slam will also break away a portion of the platform, so you’ll need to hit and move to avoid falling into the lava. (The platforms reform after some time.)
Lure the Beastfly to the edge of the platform when it prepares its ground slam so you can keep attacking and moving in one direction.
The fly will remember your position on its first pass through, and it will determine the height of the second fly by. Do not jump around! Pogo, then stay on the ground to ensure that the second time the fly comes through, it will pass above Hornet.
After taking out most of the platform, the Beastfly will fly into the lava. Use this time to heal if needed, and keep an eye out for the lava splashes that indicate where the boss will come back up from.
Halfway through the fight, the boss will start to spawn Tarmites. Take these out as soon as you possibly can, because they become a serious problem very quickly. Using Thread Storm is a quick way to take down Tarmites. While the Beastfly is summoning is also a great time to get some hits in, since it stops moving for a few seconds to call its friends down.
If you need a breather or a chance to heal, you can leave the main arena and glide to one of the side platforms that are just out of view. This won’t end or reset the fight, but the fly and Tarmites won’t follow you there. Be careful, though! The Tarmite’s fireball can still hit you on nearby platforms.
Most types of builds worked for the first fight with this boss, but for the second variation, you may want to be more selective about which tools you’re using. Here are the most useful tools and crests to give you a fighting chance.
- Crests: Long-reach and a precise downward strike are key here, like the Reaper and Wanderer crests.
- Skills: The Thread Storm can take out a Tarmite in one hit.
- Red Tools: Sting Shards can be a useful way to take down Tarmites, but Cogflies are even better if you have them unlocked.
- Blue Tools: The Magma Bell is a must to protect you from lava damage, while the Memory Crystal is useful for getting some payback after a hit. If you’re relying on red tools, the Pollip Pouch can keep the pain coming after contact.
- Yellow Tools: The Weighted Belt will keep you firmly on the platforms.
Finally, remember that the second Savage Beastfly fight in Hollow Knight: Silksong is completely optional. If you’re just not having any luck beating it, you can always leave and come back later, or not finish it at all. There are plenty of other fun and challenging bosses waiting to be taken down by Hornet!

Systems

- Released
-
September 4, 2025
- ESRB
-
Everyone 10+ / Fantasy Violence, Mild Blood
- Developer(s)
-
Team Cherry
- Publisher(s)
-
Team Cherry
- Engine
-
Unity